Xprinter Setup Guide: Everything Beginners Need to Know
Setting up a new printer may seem challenging at first, but the process becomes much easier when you understand the basic steps. A proper installation ensures reliable performance, fewer technical issues, and smoother day-to-day operations. Whether you’re using a printer for a retail store, restaurant, warehouse, or office, taking the time to configure it correctly is essential.
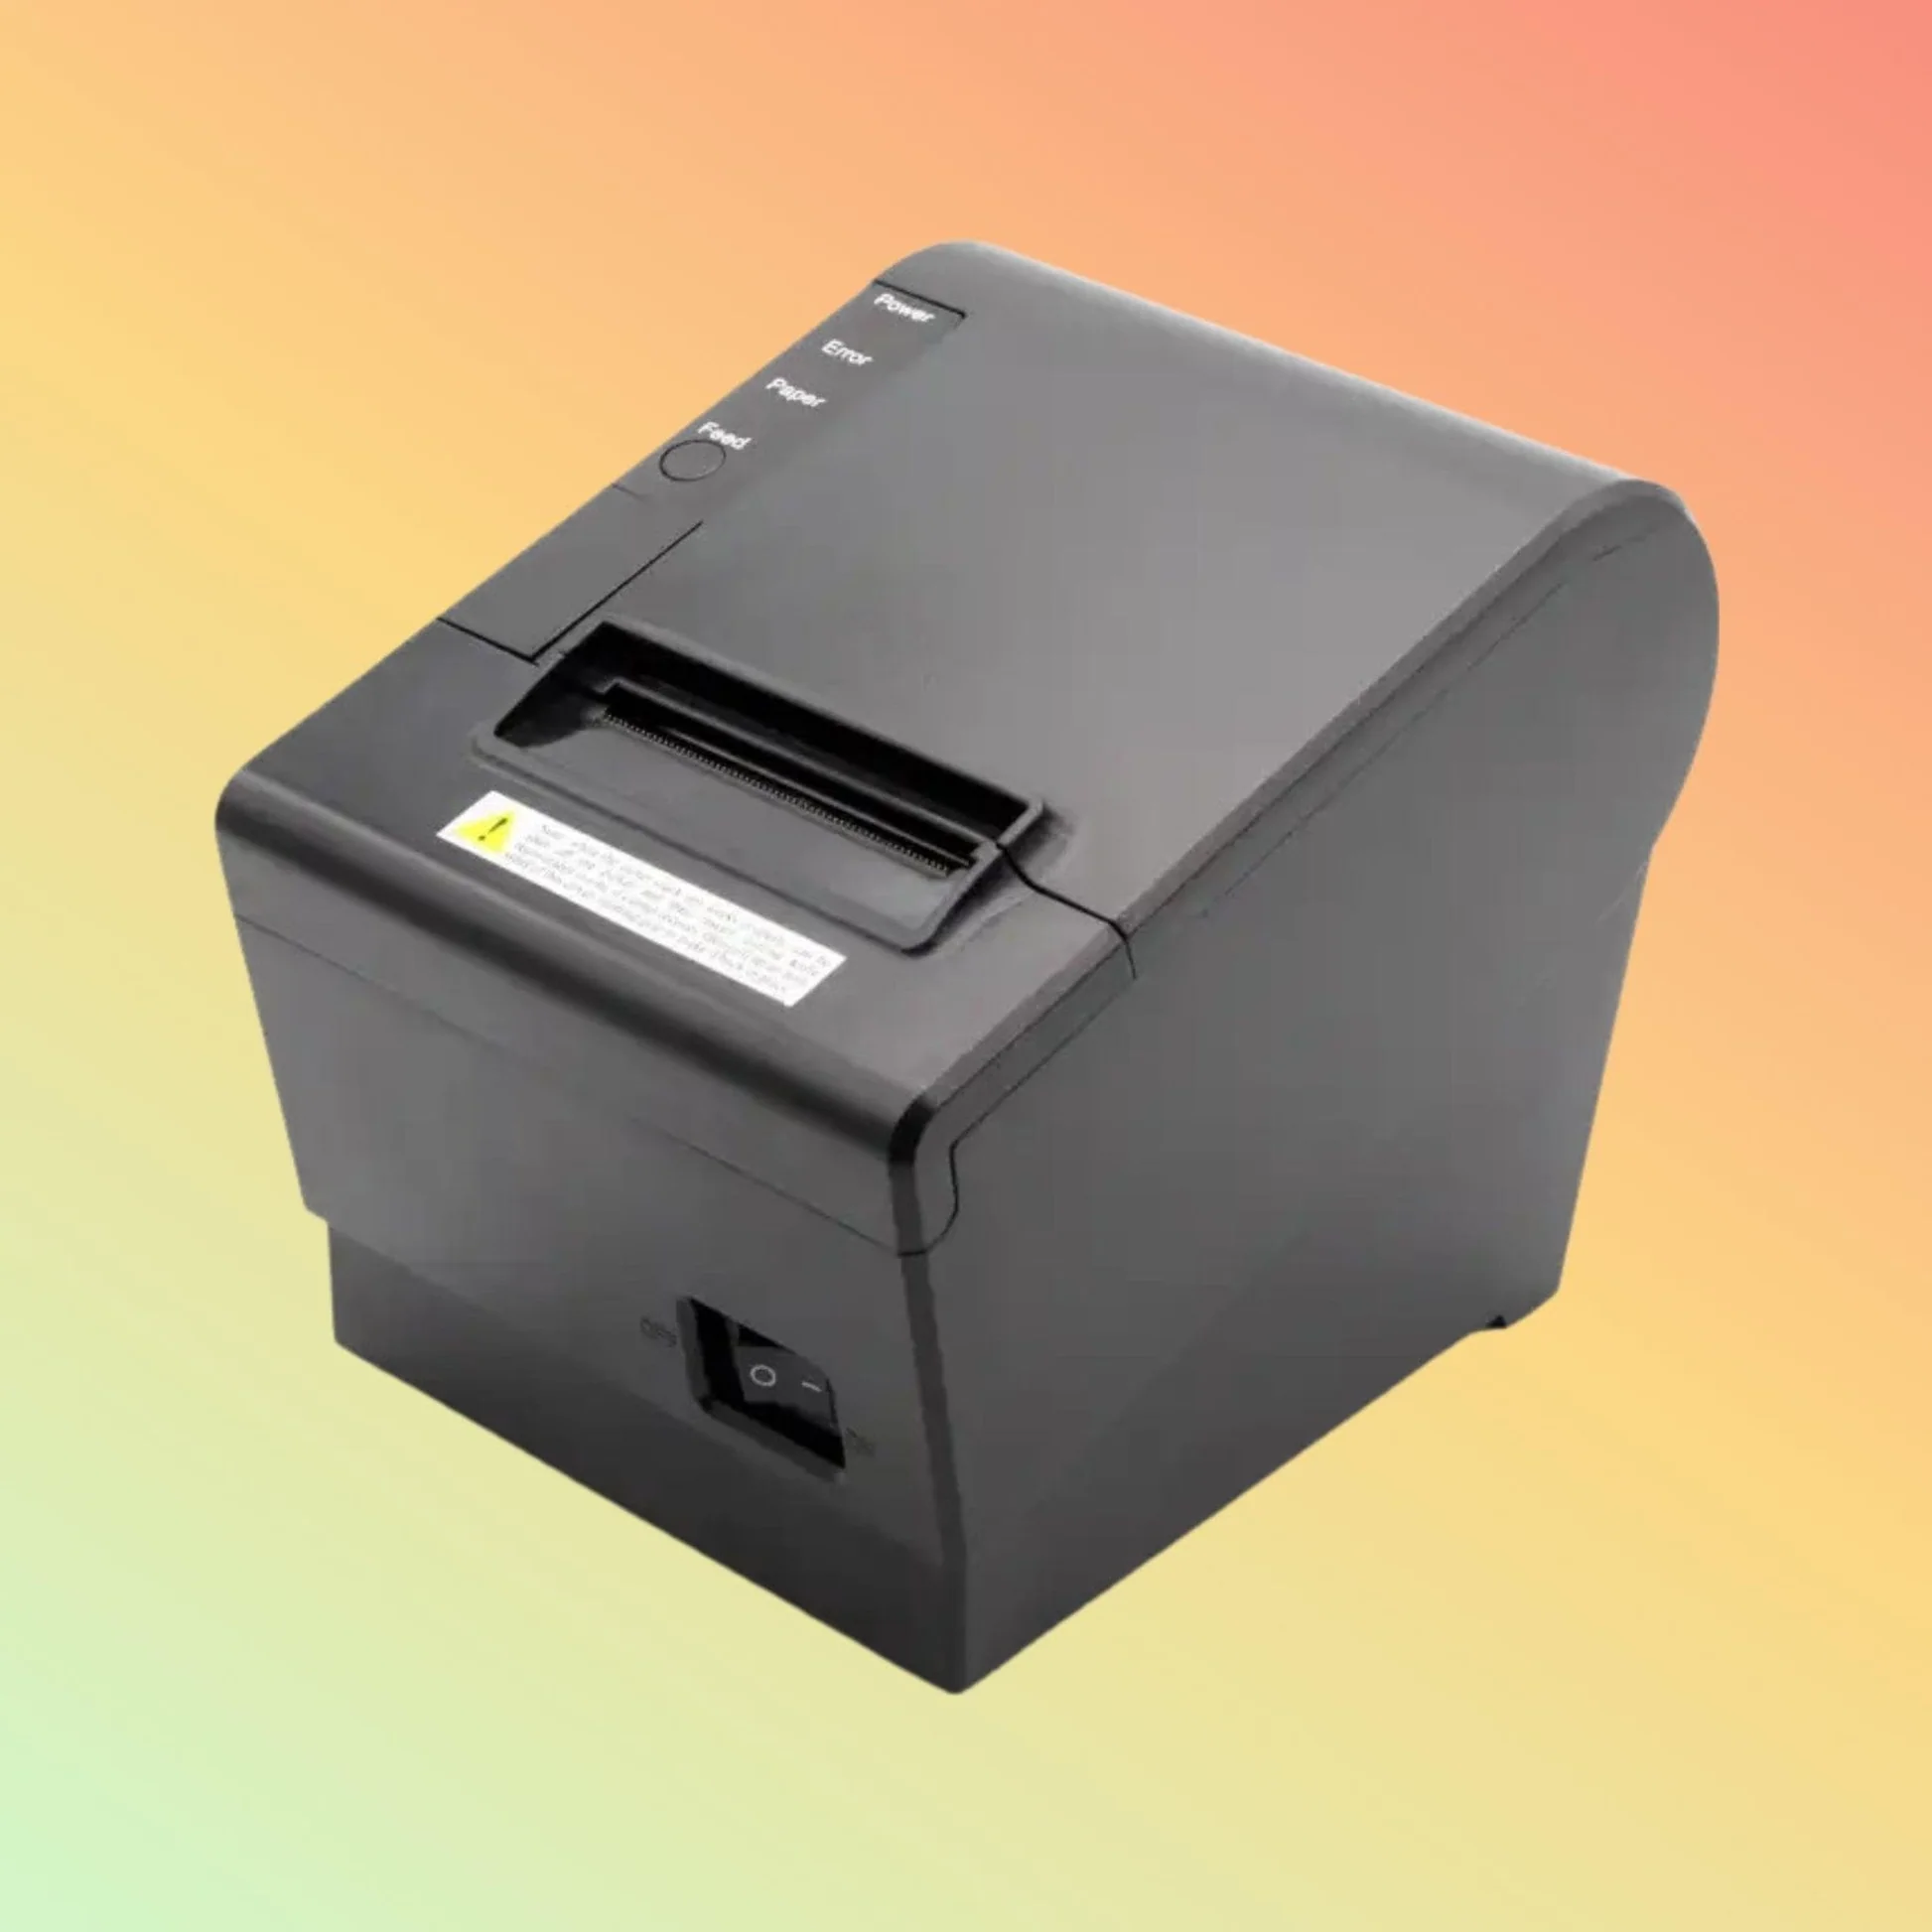
For beginners, Xprinter offers a range of thermal printing solutions designed for different business environments. Understanding the setup process helps ensure the printer is ready to deliver consistent and efficient performance from day one.
Unbox and Inspect the Printer
Before installation, carefully unpack the printer and verify that all components are included. Typical items may include:
- The printer
- Power adapter and cable
- USB or other connection cable
- User manual
- Paper roll or starter supplies (depending on the model)
Inspect the printer for any visible damage that may have occurred during shipping.
Choose the Right Location
Place the printer on a stable, flat surface with enough space for ventilation and easy paper replacement. Keep it away from excessive moisture, dust, and direct sunlight to help maintain reliable performance.
A well-organized workspace also makes routine maintenance more convenient.
Connect the Power Supply
Connect the power adapter to the printer and plug it into a suitable electrical outlet. Turn on the printer and check that the power indicator lights up correctly.
If the printer does not power on, verify that all cables are securely connected before troubleshooting further.
Install the Printing Paper
Correct paper installation is essential for smooth operation.
Follow these general steps:
- Open the printer cover.
- Insert the paper roll according to the guide.
- Leave a small portion of the paper extending from the front.
- Close the cover securely.
- Test the paper feed.
Incorrect paper placement can result in blank prints or paper jams.
Connect the Printer to Your Device
Depending on the printer model, available connection options may include:
- USB
- Ethernet
- Bluetooth
- Wi-Fi
- Serial connection
Choose the connection method that best matches your business setup and available hardware.
Install the Printer Driver
Most printers require the appropriate driver before they can communicate with your computer or point-of-sale system.
During installation:
- Download the correct driver for your operating system.
- Follow the installation instructions.
- Restart your computer if required.
- Verify that the printer appears in your list of installed devices.
Using the correct driver helps ensure stable communication and optimal performance.
Configure Printer Settings
After installation, review the printer settings to match your operational requirements.
Common settings include:
- Paper size
- Print density
- Print speed
- Communication settings
- Default printer selection
Proper configuration improves print quality and reduces the likelihood of errors.
Print a Test Page
Printing a test page confirms that the installation was successful.
Check the following:
- Clear text and graphics
- Proper paper alignment
- Consistent print quality
- Smooth paper feeding
If any issues appear, review the installation steps before making further adjustments.
Basic Troubleshooting Tips
If the printer does not work as expected, try these common solutions:
- Confirm all cables are securely connected.
- Verify the printer has power.
- Check that the paper is loaded correctly.
- Ensure the correct printer driver is installed.
- Restart both the printer and the connected device.
- Confirm the selected printer is the default device.
Many setup issues can be resolved with these simple checks.
Keep Your Printer Running Smoothly
Regular maintenance helps extend the printer’s lifespan and maintain consistent print quality.
Good maintenance practices include:
- Cleaning the print head regularly
- Keeping the paper compartment free of dust
- Using compatible printing supplies
- Updating drivers when necessary
- Inspecting cables and connections periodically
Routine care can reduce downtime and improve overall reliability.
Conclusion
Setting up a printer correctly is the foundation for dependable daily performance. By following the proper installation steps, configuring the correct settings, and performing regular maintenance, beginners can enjoy reliable printing with minimal technical issues. A careful setup process ensures your printer is ready to support efficient business operations from the very beginning.